

We create innovative Diagnostics for a healthier World
Whether you are looking to ensure your food safety program or validate the cleanliness of your facility, Hygiena offers an array of diagnostics solutions to ensure a healthier world.
Providing First-Class Diagnostic Testing Solutions
We offer rapid microbial detection, monitoring and identification solutions for various industries, such as food and beverage, healthcare, hospitality, pharmaceuticals, and personal care. Our industry-leading rapid-testing solutions use advanced technologies and patented designs to test for ATP monitoring, foodborne pathogens, spoilage organisms, allergens, mycotoxins, GMOs, animal identification, and more. Our software solutions help to identify issues early before they can become a problem.


Shaping Tomorrow: The Hygiena Mission

Our well-established products are thoroughly tested, approved and certified.

With many years of experience, we understand the needs of our customers.

We offer solutions across the entire production chain - from Farm to Fork.

Your worldwide partner in more than 100 countries, always on your side.

Search Solutions
One Health Diagnostics™: Hygiena's Commitment to Safe and Sustainable Food
Our journey from farm to table emphasizes the importance of safety, sustainability, and health in transforming the global food supply chain. With proven solutions like ATP monitoring, real-time PCR and ELISA tests, Hygiena ensures early disease detection in livestock and prevents food contamination at every step, from production to retail. The company's holistic 'One Health Diagnostics' approach ties the health of people to animals and the environment, leveraging sophisticated data management like the SureTrend® digital platform to uphold the highest standards of food safety and sustainability.
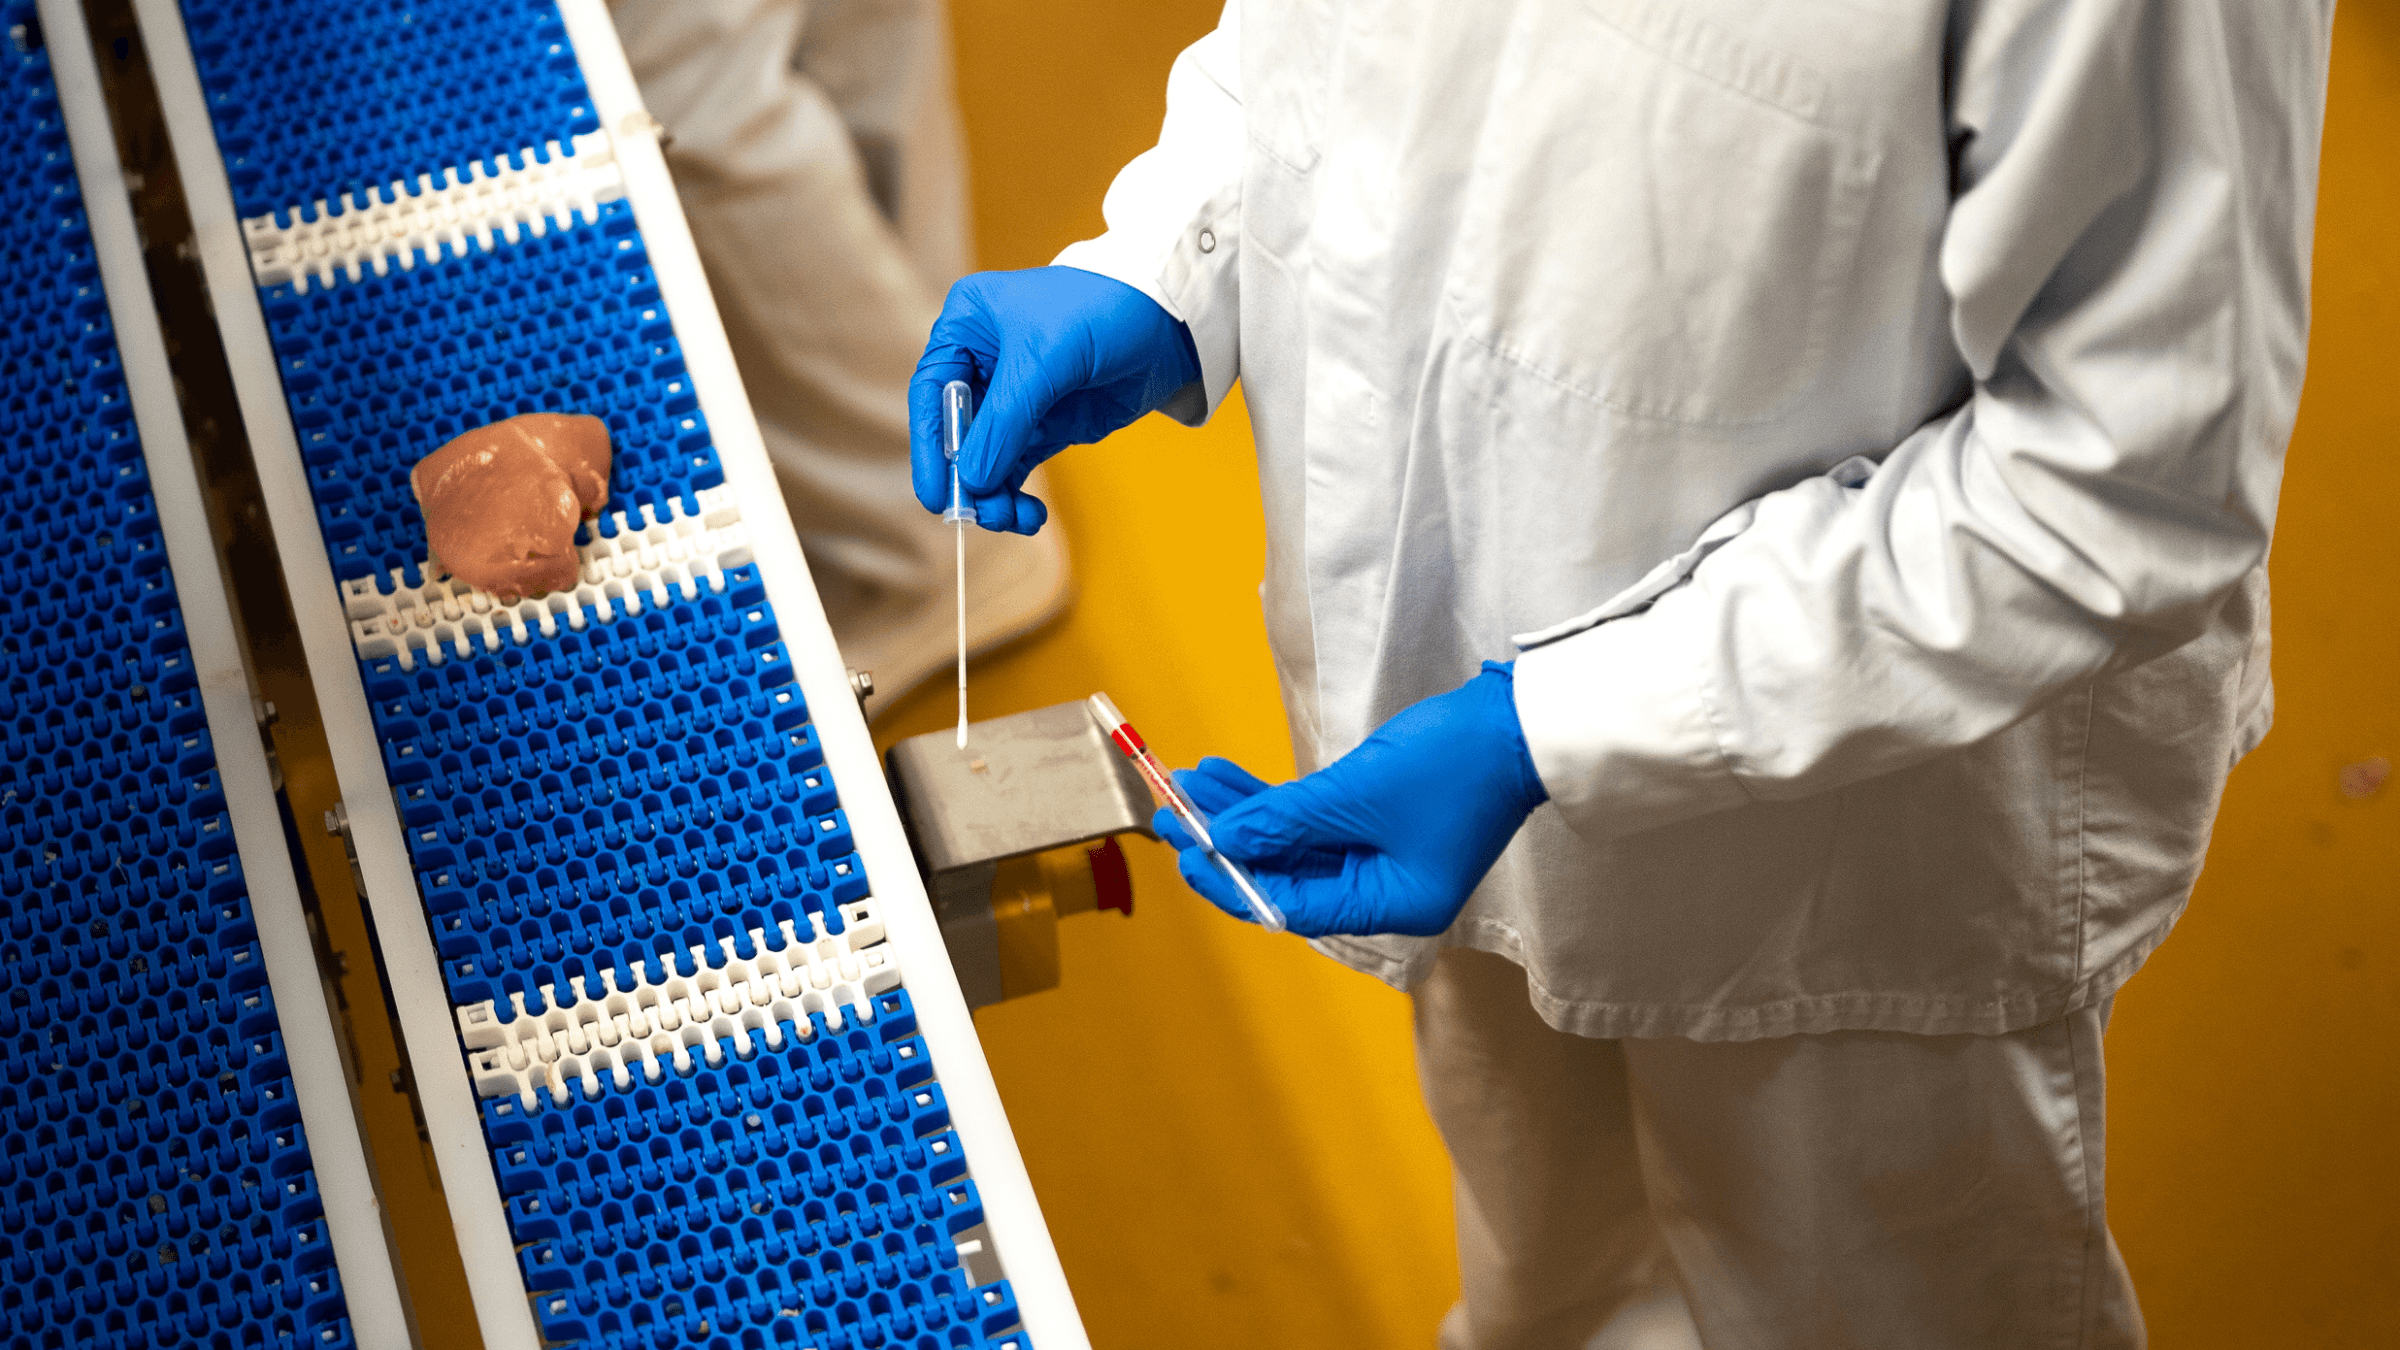
Farm to Table: Ensuring Every Bite